Read Connector
Create New Read Connector
After you have an Ascend Read Connection set up, then you continue to set up the Read Connector in your dataflow.
In this example, we are going to import a CSV into our ADLS Blob. We import the data using as a simple 'Upload' statement in Azure. On the right hand side of the page in Azure, there is a 'Select a File' field and you will import the data file there.

Figure 1
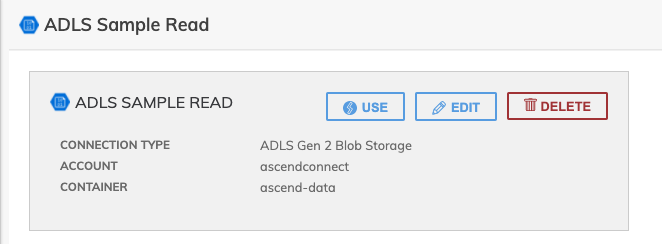
Now we are ready to import the data stored in the Azure Blob Storage into Ascend. First, we will select our newly created ALDS Gen 2 Blob Storage Connection called "ADLS SAMPLE READ" by clicking on the connection in Ascend and selecting the 'Use" Button.

Figure 2
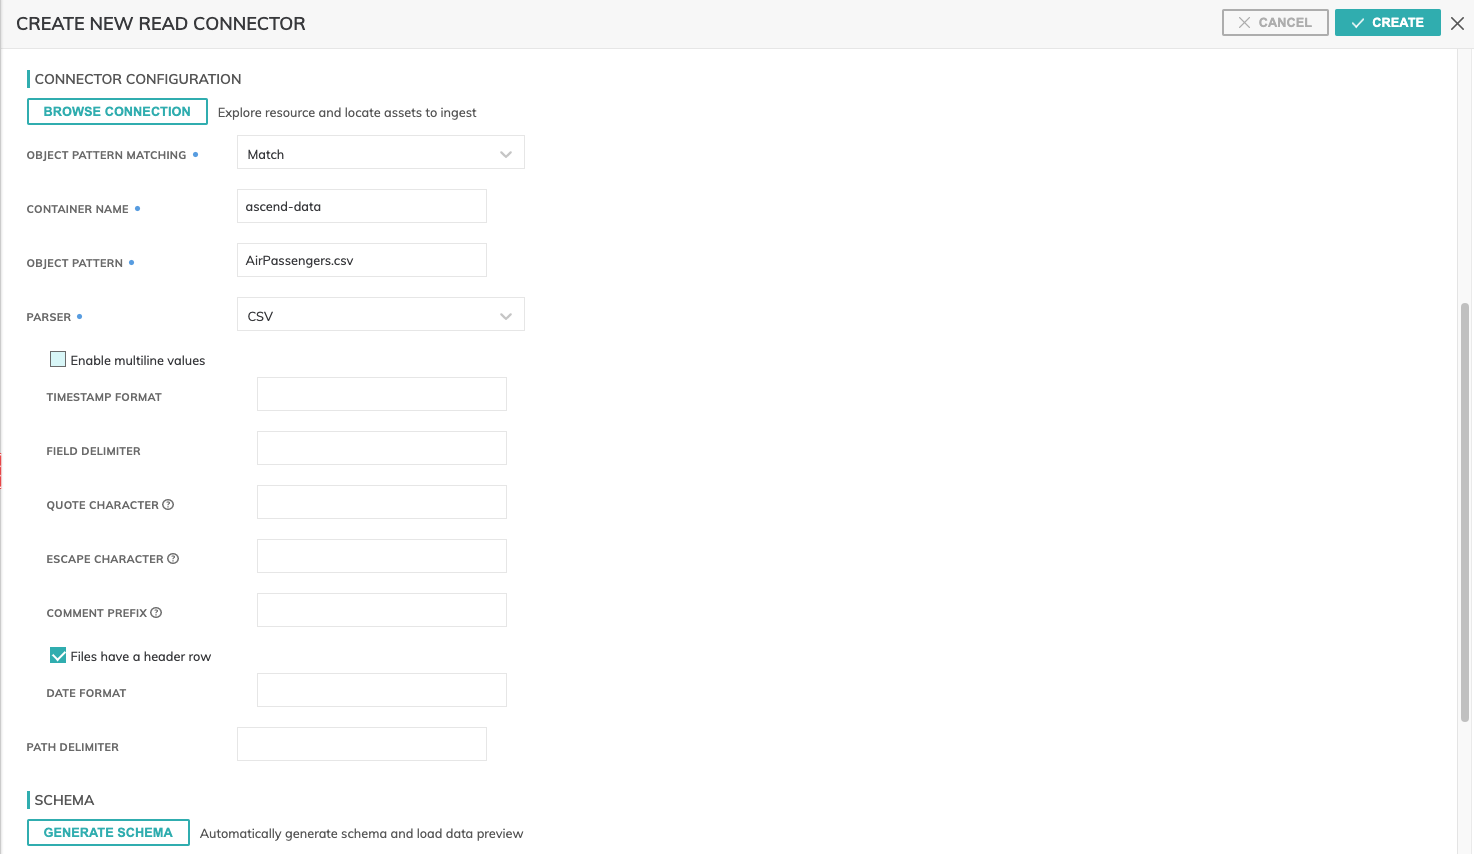
Next, we are going to create a new "READ CONNECTOR" and specify the following fields:
- Container Name: This is the name of our container in Azure. In Azure the name of our container in Azure is "ascend-data."
- Object Pattern: This is the name of the data file that is in your container. Here, we are uploading "AirPassengers.csv"
- Parser: This is the file type or data type of the data that is specified in the previous step
- Files Have a Header Row: CSVs files have an optional header line at the top. In this example, our "AirPassengers" dataset has a 2 column headers and we are specifying that to make our data import cleaner
All of the other fields are optional. Once we are done, we click "GENERATE SCHEMA" to create a schema for our data import and import the data.

Figure 3
After clicking "GENERATE SCHEMA," Ascend auto-detects the schema below the "GENERATE SCHEMA" button:

Figure 4
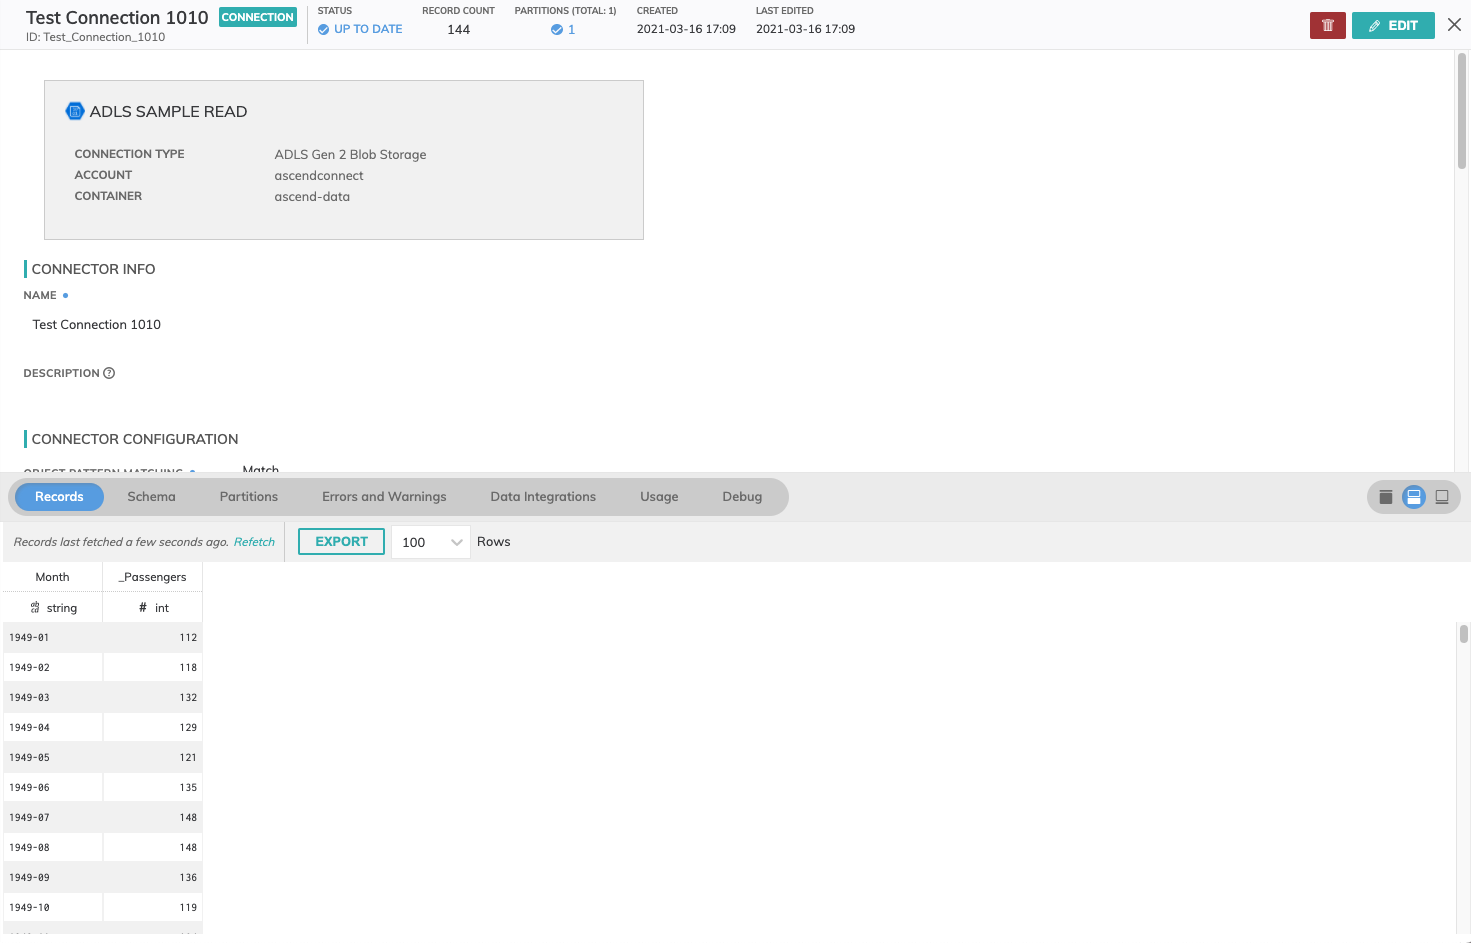
After a short wait, when you go back to the CONNECTOR in Ascend you will see the data there:

Figure 5
Success! 144 records of flight data have been imported into Ascend.
Updated 7 months ago