SSH Gateway
In this guide, you will first establish an SSH Bastion Host, and whitelist relevant IPs. After that, you'll construct an SSH Gateway and adjust the connection within Ascend, utilizing your newly created SSH Gateway.
Prerequisites
- A Connection created within Ascend
- User credentials from that Connection
Step 1: Add an Ascend User SSH Bastion Host.
Log into your SSH host and run the following commands:
- Generate a new group:
sudo groupadd ascend - Create user ascend:
sudo useradd -m -g ascend ascend - Switch to the ascend user:
sudo su - ascend - Create the .ssh directory:
mkdir ~/.ssh - Set permissions:
chmod 700 ~/.ssh - Switch to the .ssh directory:
cd ~/.ssh - Create the authorized_keys file:
touch authorized_keys - Set permissions:
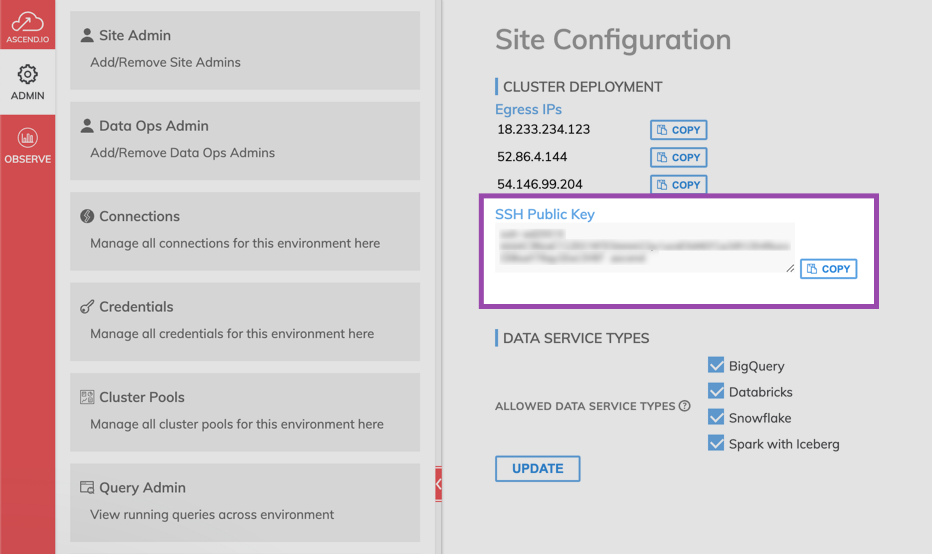
chmod 600 authorized_keys - Copy your Ascend SSH public key. From the Site Admin navigate to Admin Home>Site Configuration and copy your Ascend SSH public key. Use a text editor to add your Ascend SSH Public Key to the
authorized_keysfile. The key must be all on one line without any line breaks when cutting and pasting.

Step 2: Allowlist IPs.
Ensure your SSH bastion's port access is granted from both of the following:
- Ascend's Egress IPs to your SSH port, and
- from your SSH server to your source database port.
Step 3: Create SSH Gateway.
- Go to Admin Home Page in Ascend.
- Access SSH Gateways, and select Create New SSH Gateway.
- Fill in these details:
| Field | Input |
|---|---|
| SSH GATEWAY NAME | Your gateway's name in Ascend |
| BASTION HOSTNAME | Your SSH Bastion IP or Host |
| BASTION PORT | Your SSH Port |
| BASTION USERNAME | ascend |
| TARGET HOSTNAME | Your Database IP or Host |
| TARGET PORT | Your Database Port |
- Select CREATE.
Step 4: Set Up Connection Using SSH Gateway.
Access a new or existing Connection in Ascend.
- For the HOST field, input:
ssh-gateway-<name>.<cell-namespace>-net-admin(replace<name>and<cell-namespace>accordingly. For<name>, please replace any non-alphabetic characters with-. ). - Leave other fields as they are.
Updated 8 months ago