Create a Write Connector
Learn how to create a Write Connector in Ascend.
Creating a Write Connector requires a Connection that has the Access Type set to write-only or read-write.
Step 1: Create a new Write Connector.
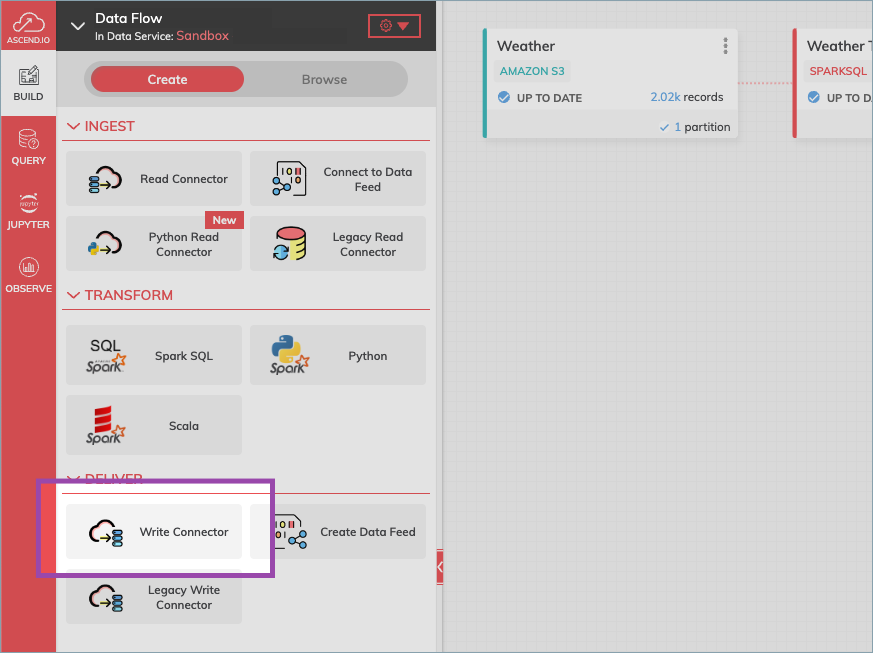
- From the Build Pane, select Write Connector.
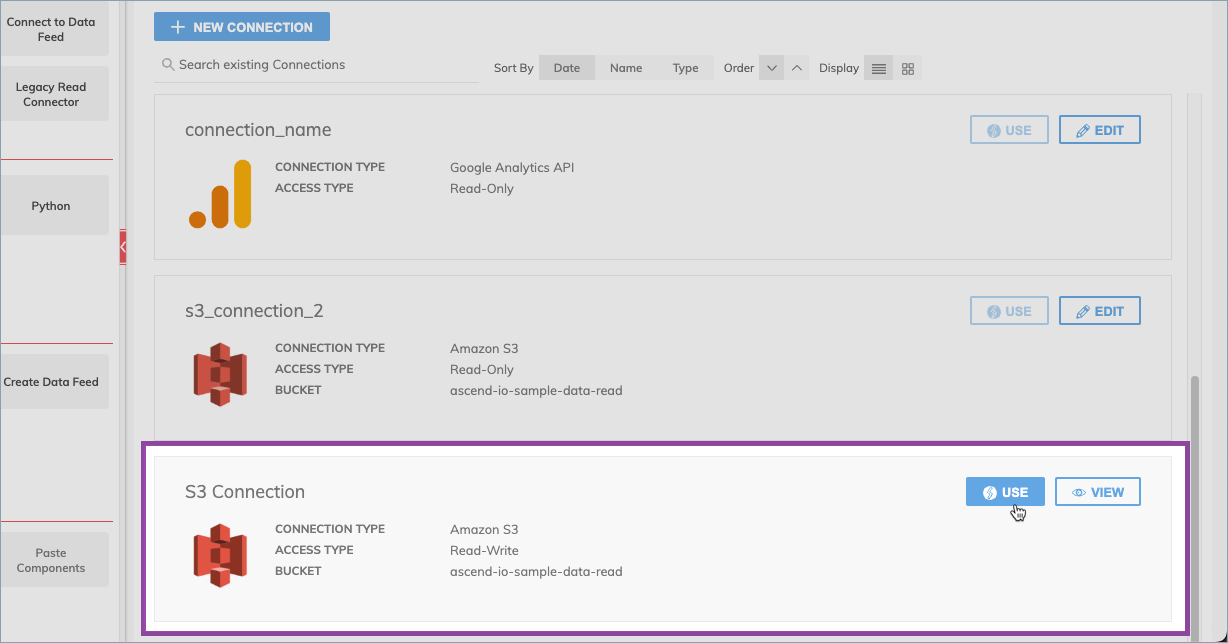
- Select USE for the connection you want to use.

FIgure 1.

Figure 2.
Step 2: Configure your Write Connector.
- Provide any required or optional configurations for the Write Connector.
- See individual Connection types to find each type's specifications.
Step 3: Launch your Write Connector.
- Select CREATE at the top of the configuration pane.

Figure 3.
Additional Settings
Write Connectors have additional settings the allow for further customization.
Component Pausing
Update the status of the read connector by selecting either Running to mark it active or Paused to stop the connector from running.

Figure 4.
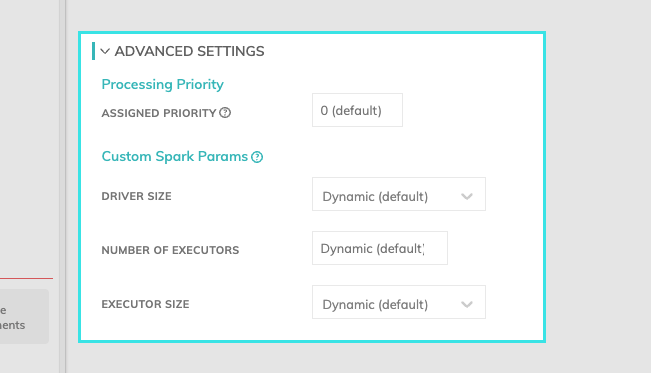
Advanced Settings
Processing Priority: When resources are constrained, this value will be used to determine which components to schedule first. Higher priority numbers are scheduled before lower ones. Increasing the priority on a component also causes all its upstream components to be prioritized higher. Negative priorities can be used to postpone work until excess capacity becomes available. Please note that once a job is running, it completes processing and isn't impacted by a higher priority item coming into the queue.
Custom Spark Params: You can determine the resources such as driver size, number of executors, and the executor size. If you leave this set to Dynamic (default), Ascend will inspect the input files and automatically estimate the appropriate cluster size.

Updated 8 months ago