
How to Create a Timed Trigger Read Connector
Step 1: Create a Scheduled Trigger Connection
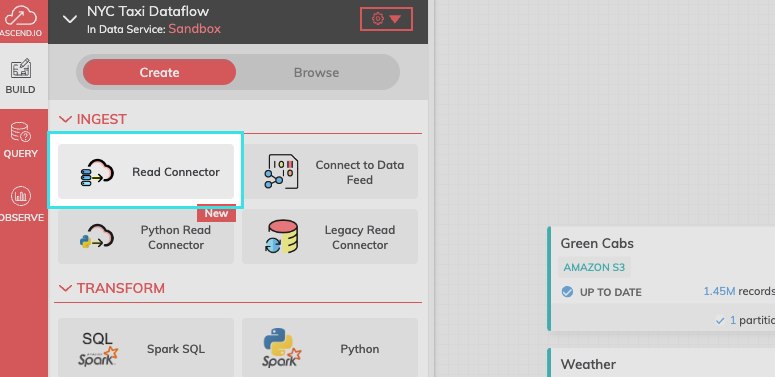
- From the Build Pane, select Read Connector.
- Select + New Connection.
- Select Scheduled Trigger from the Connection catalog. (Use the search bar to quickly locate the Scheduled Trigger Connection.)
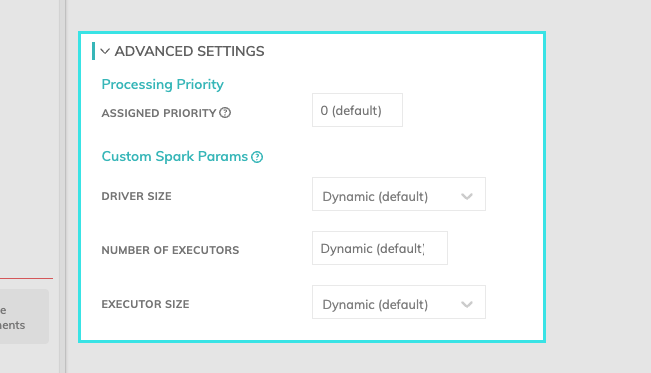
- Assign a name to the Scheduled Trigger. Ignore Advanced Settings and, since this is a local connection, do not initiate Test Connection.
Once you've created a Scheduled Trigger connection, you can reuse that connection for any subsequent Scheduled Trigger Read Connector within a Data Service.
Step 2: Create a Scheduled Trigger
- Select USE for your newly created Scheduled Trigger Connection.
- Select Skip and configure manually.
Step 3: Configure your Scheduled Trigger
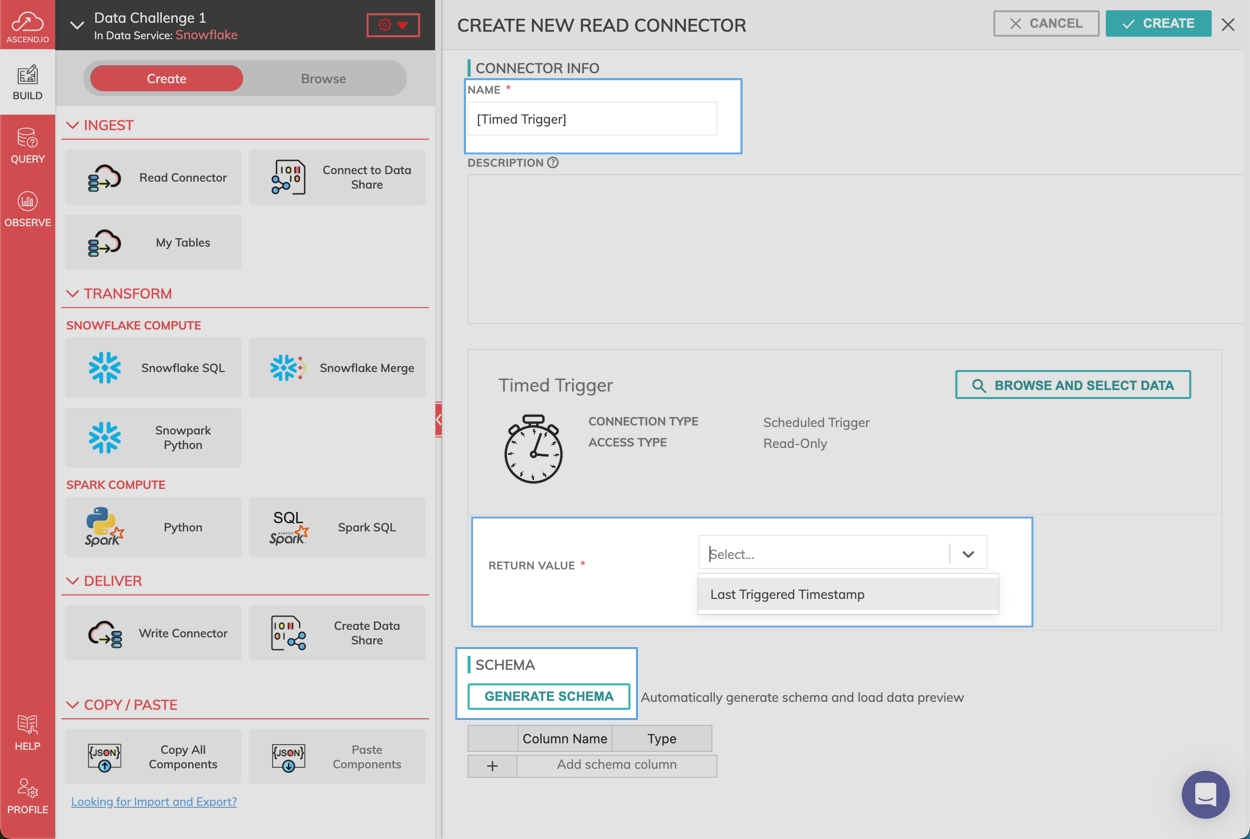
- Add a Name and optional Description to your Read Connector.
- Select Last Triggered Timestamp for the RETURN VALUE field.
- Select GENERATE SCHEMA to create a schema and a data preview.
Step 4: Launch your Scheduled Trigger
- Select CREATE at the top of the configuration pane.
Updated 11 months ago