Create a Read Connector
Creating a Read Connector in Ascend involves data selection, configuration, schema generation, and launch, with customizable settings for data quality, scheduling, and processing priority.
Creating a Read Connector requires a Connection that has the Access Type set to read-only or read-write.
Step 1: Create a new Read Connector
- From the Build Pane, select Read Connector.
- Select USE for the connection you want to use.
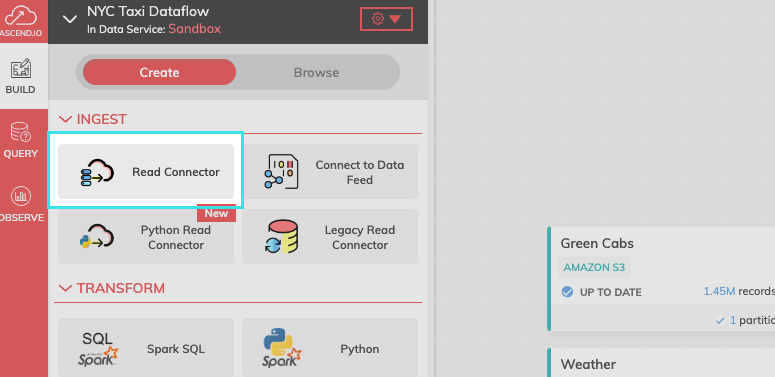
FIgure 1.
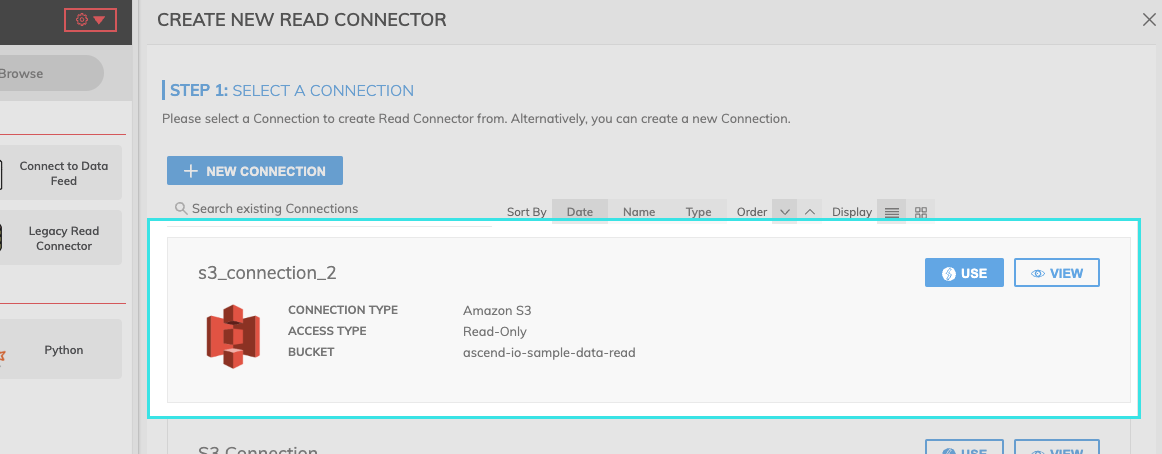
Figure 2.
Step 2: Select data to ingest
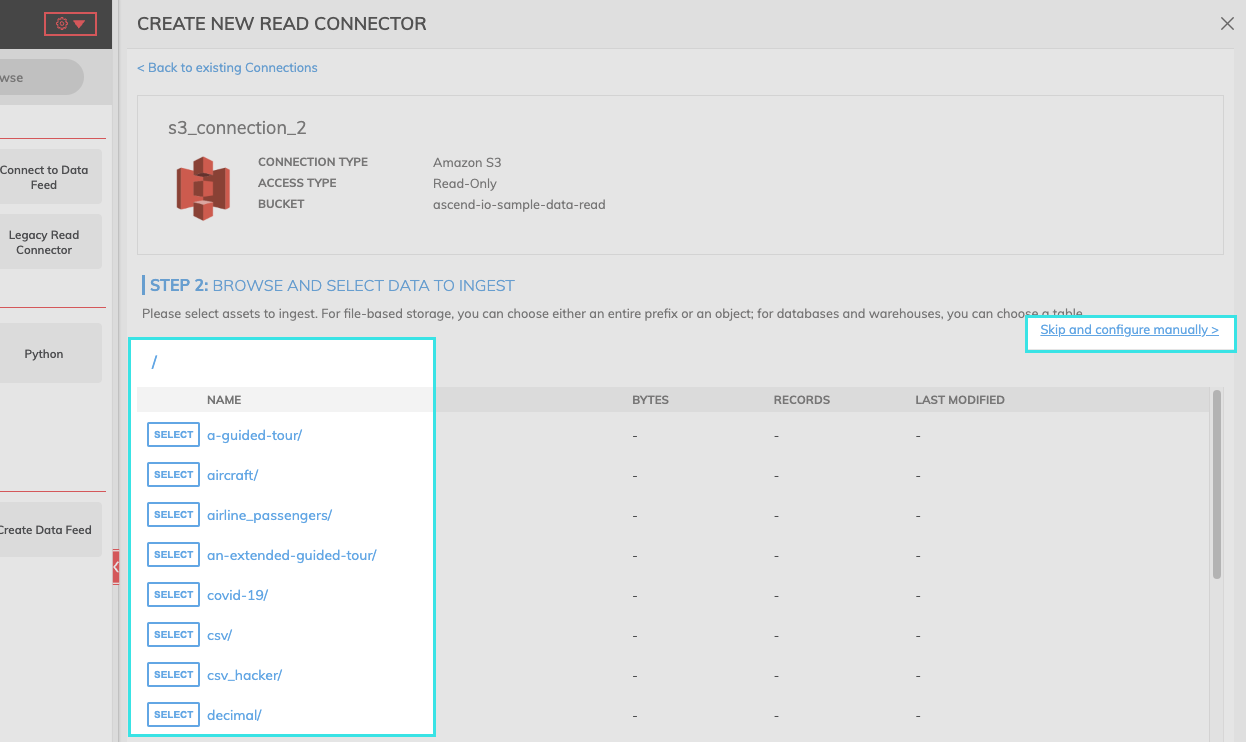
- Browse and select the data to ingest.
- If you know the path of the data you want to ingest, select "Skip and configure manually.
Step 3: Configure your Read Connector
- Provide any required or optional additional configurations for the Read Connector.
- See individual Connection types to find each type's specifications.
Step 4: Generate the data schema
- Select GENERATE SCHEMA to create a schema and a data preview.
- Add schema column: Add a custom column to the generated schema.
- If column types are incorrect, double-select each cell to change the type.
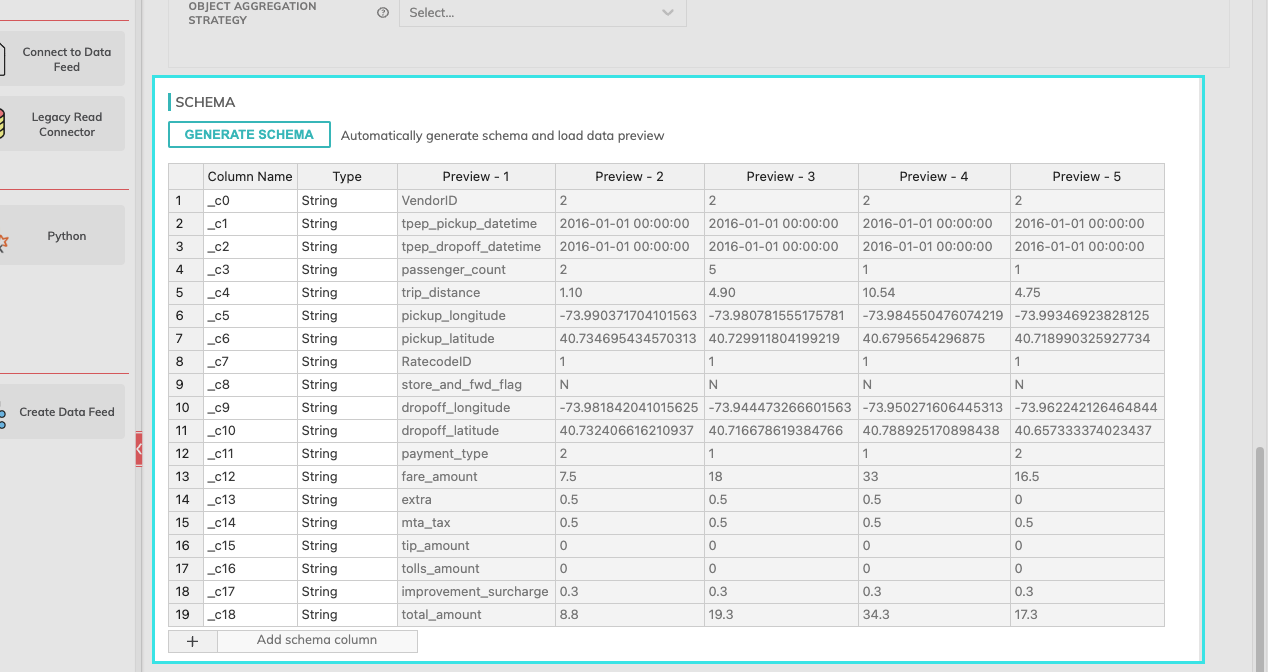
Figure 3.
Step 5: Launch your Read Connector.
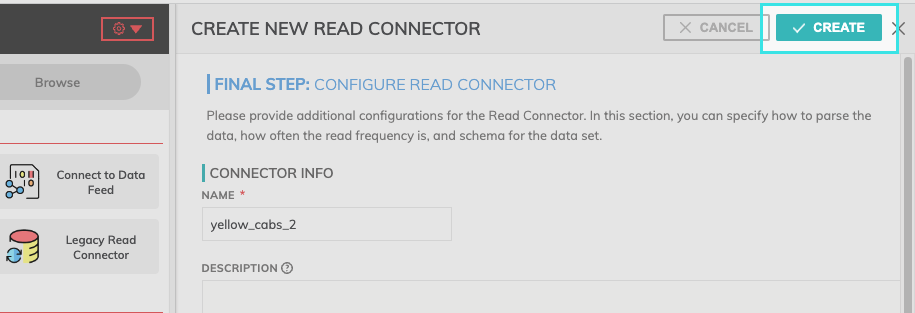
- Select CREATE at the top of the configuration pane.
Additional Settings
Every read connector has additional settings that give the user greater control.
- Data Quality: Data Quality checks are assertions about the dataset associated with a component. It measures objective elements such as completeness, accuracy, and consistency.
Data quality is only available on Big Query, Databricks, and Snowflake data planes. For more information, see Data Quality.
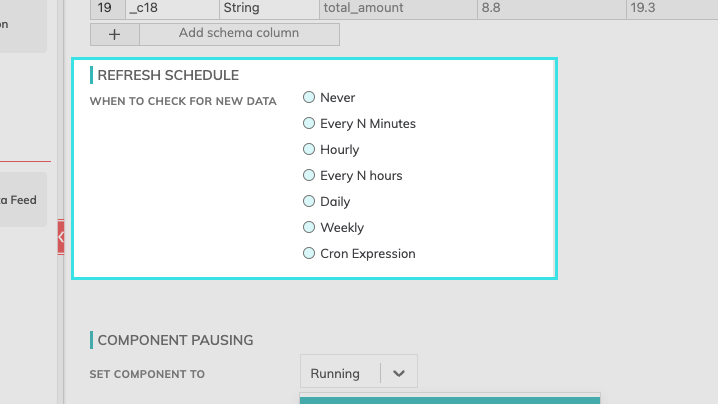
Refresh Schedule
The refresh schedule specifies how often Ascend checks the data location to see if there's new data. Ascend will automatically kick off the corresponding read jobs once new or updated data is discovered.
Component Pausing
Update the status of the read connector by selecting either Running to mark it active or Paused to stop the connector from running.

Figure 4.
Advanced Settings
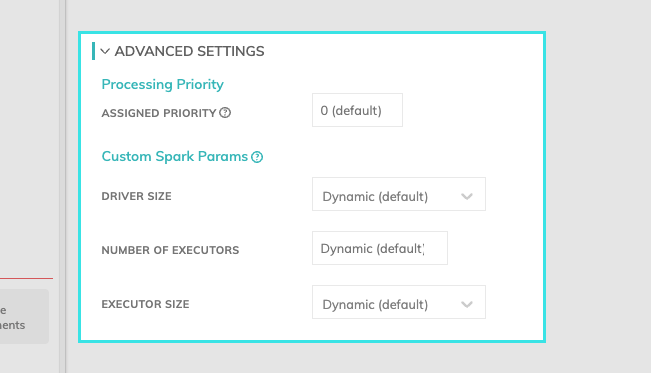
Processing Priority: When resources are constrained, this value will be used to determine which components to schedule first. Higher priority numbers are scheduled before lower ones. Increasing the priority on a component also causes all its upstream components to be prioritized higher. Negative priorities can be used to postpone work until excess capacity becomes available. Please note that once a job is running, it completes processing and isn't impacted by a higher priority item coming into the queue.
Custom Spark Params: You can determine the resources such as driver size, number of executors, and the executor size. If you leave this set to Dynamic (default), Ascend will inspect the input files and automatically estimate the appropriate cluster size.
Updated 8 months ago