
Dev Tier with Snowflake
Integrate your Snowflake account to your Ascend Dev Tier account to build out pipelines with Ascend-provided sample data. (or your own) using Snowflake's compute engines.
Get started with the Ascend.io Dev Tier by connecting your preferred cloud data platform. Here, we'll walk through how to connect to Snowflake.
Don't have a Snowflake account?
If you don't have a Snowflake account, here's where you can create a free trial account.
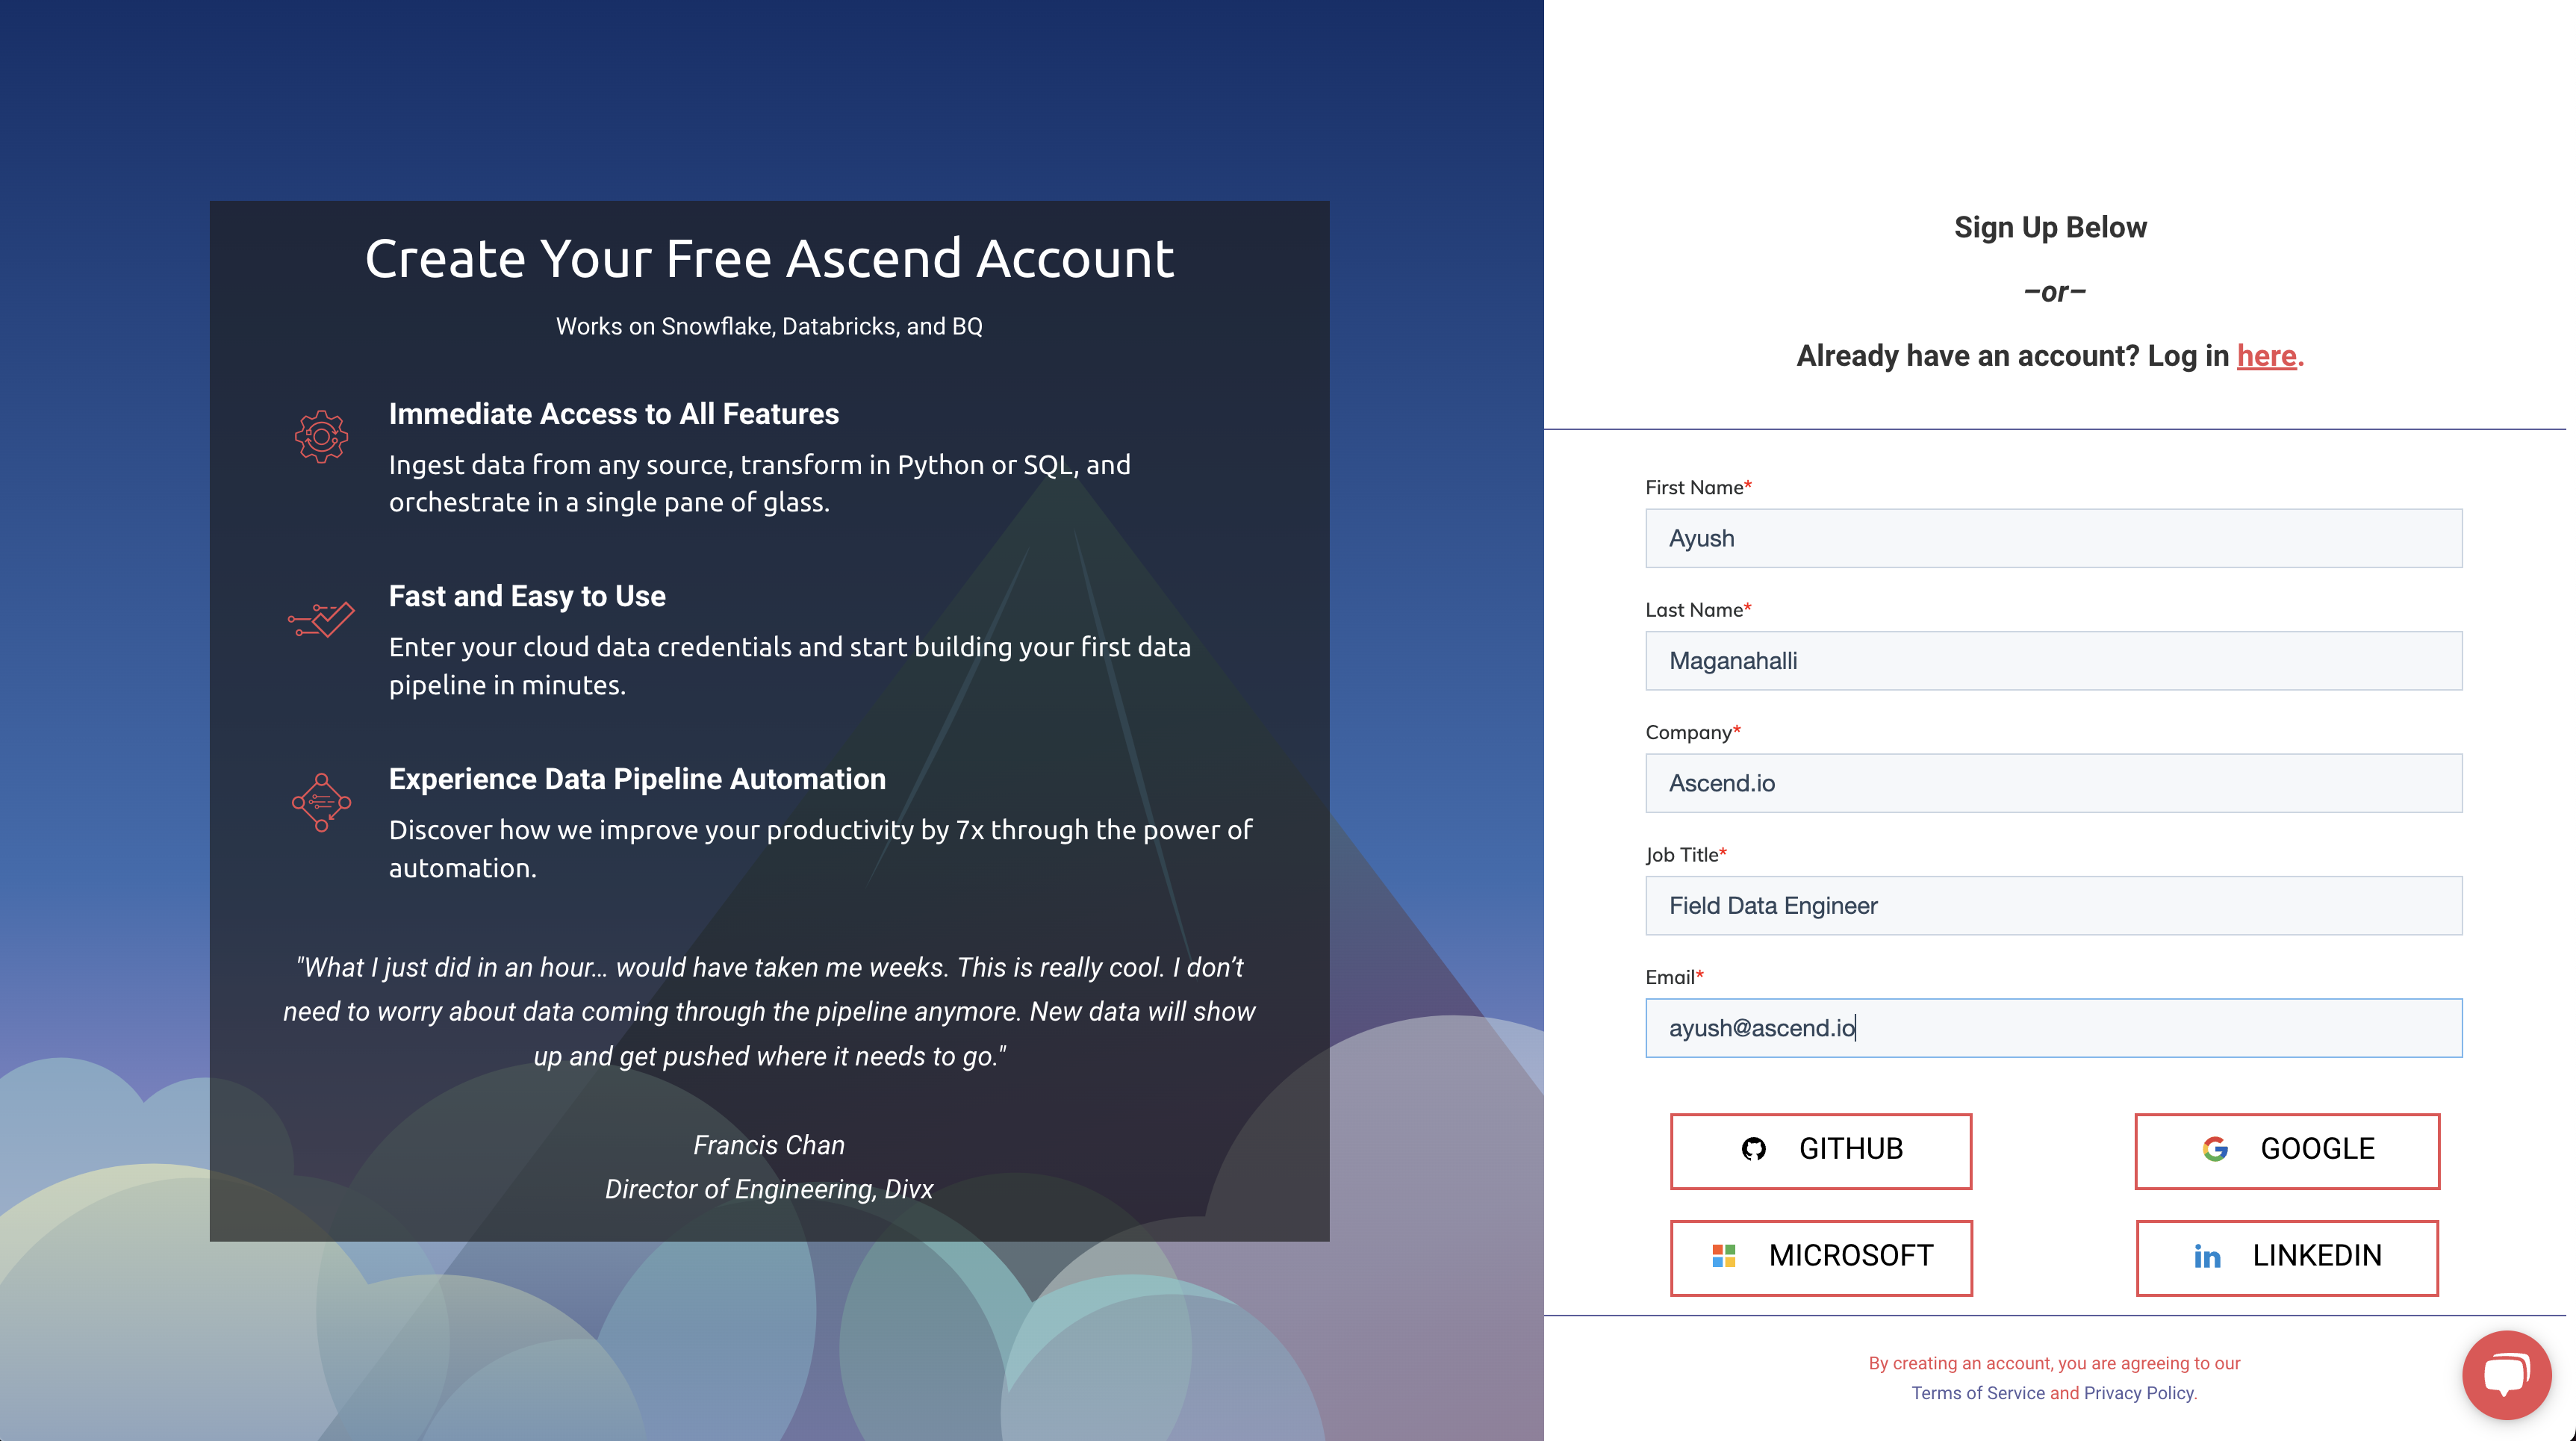
Step 0: Signup for Ascend.io
- Go to ascend.io/signup.
- Enter your first and last name, email address, and the name of the company you work for.
- Choose your preferred authorization account.
Step 1: Select Snowflake as your cloud data platform.
- If the Snowflake option is not available, select Don't see your data platform?.

Step 2: Connect to your data.
For Snowflake, locate and enter your Account name.
- Enter your username and password for your Snowflake account.
- The process to find this info is detailed in the video at the top of the page.
- Select Connect to Snowflake.

Step 3 : Configure your connection.
Once Snowflake is successfully connected, you'll need to provide the following items in their respective fields:
- Role (not required)
- Warehouse
- Database
Once your choices are made, select Configure.

Step 4: Build your first Data Service with Ascend.
- Create your first Project and Pipeline name.
- We recommend selecting simple names like TestService for your project and TestFlow for your pipeline!
- Select Start building to explore the Ascend platform on your own or select View Tutorials to start with an Ascend tutorial and publicly available data.

Updated over 1 year ago