MongoDB Read Connector
After you have an Ascend Read Connection set up, then you continue to set up the Read Connector in your dataflow.
Create New Read Connector
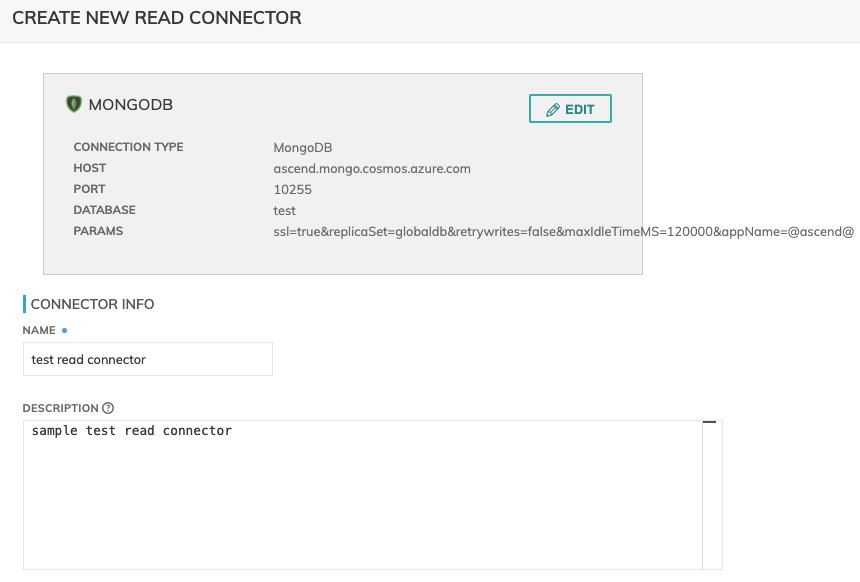
Figure 1
The first thing on the top (Figure 1 above) is a highlighted box with the MongoDB connection, with an EDIT button which can use to modify the connection.
CONNECTOR INFO
- Name (required): The name to identify this connector with.
- Description (optional): Description of what data this connector will read.
Connector Configuration
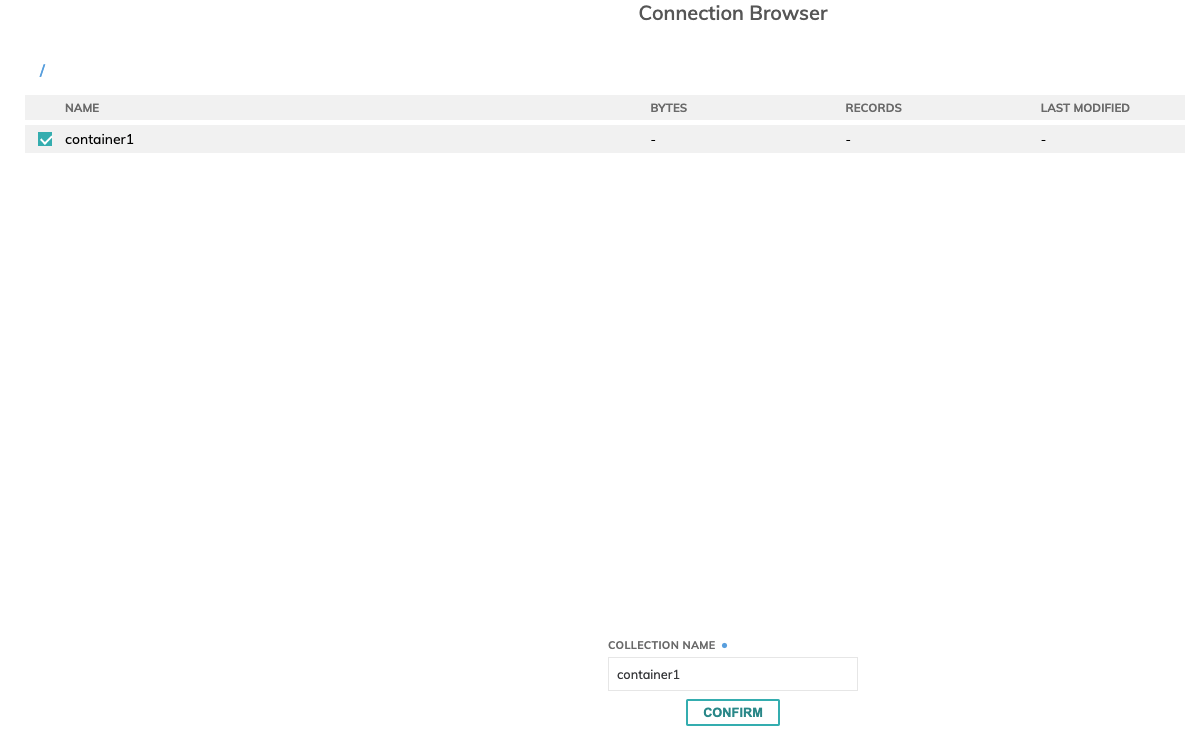
Figure 2

Figure 3
- Browse Connection (required): Click this button to explore resource and locate assets to ingest. This will give you access to the MongoDB collection in a modal dialog (Figure 4), where you can navigate to the desired table to be imported. Select the table you want to ingest and press confirm.
- Collection Name: MongoDB stores documents in collections. Collections are analogous to tables in relational databases. Learn More
Generate Schema
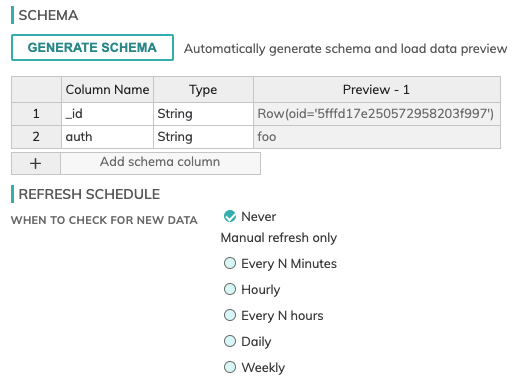
Figure 4
Once you click on the GENERATE SCHEMA button, the parser will create a schema and a data preview will be populated as in the image below.
- Add schema column: Add a custom column to the generated schema
Component Pausing
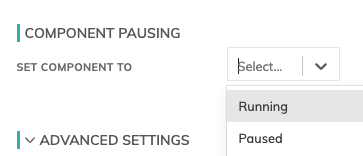
Figure 5
Update the status of the read connector by marking it either Running to mark it active or Paused to pause the connector from running.
Refresh Schedule
The refresh schedule specifies how often Ascend checks the data location to see if there's new data. Ascend will automatically kick off the corresponding big data jobs once new or updated data is discovered.
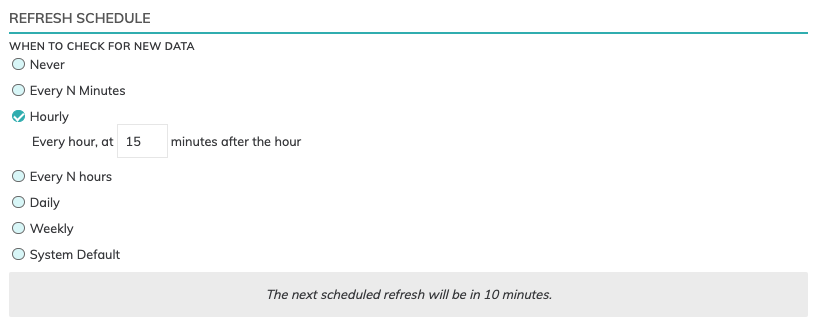
Figure 6
Processing Priority (optional)
When resources are constrained, Processing Priority will be used to determine which components to schedule first.
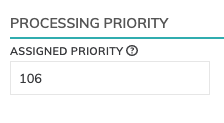
Figure 7
Higher priority numbers are scheduled before lower ones. Increasing the priority on a component also causes all its upstream components to be prioritized higher. Negative priorities can be used to postpone work until excess capacity becomes available.
Updated 6 months ago