PostgreSQL
Prerequisites
- Access credentials
- Database Name
If your Postgres server is in a private subnet or VPC and not accessible from the public internet. Please contact [email protected] to set up networking.
Create new PostgreSQL connection
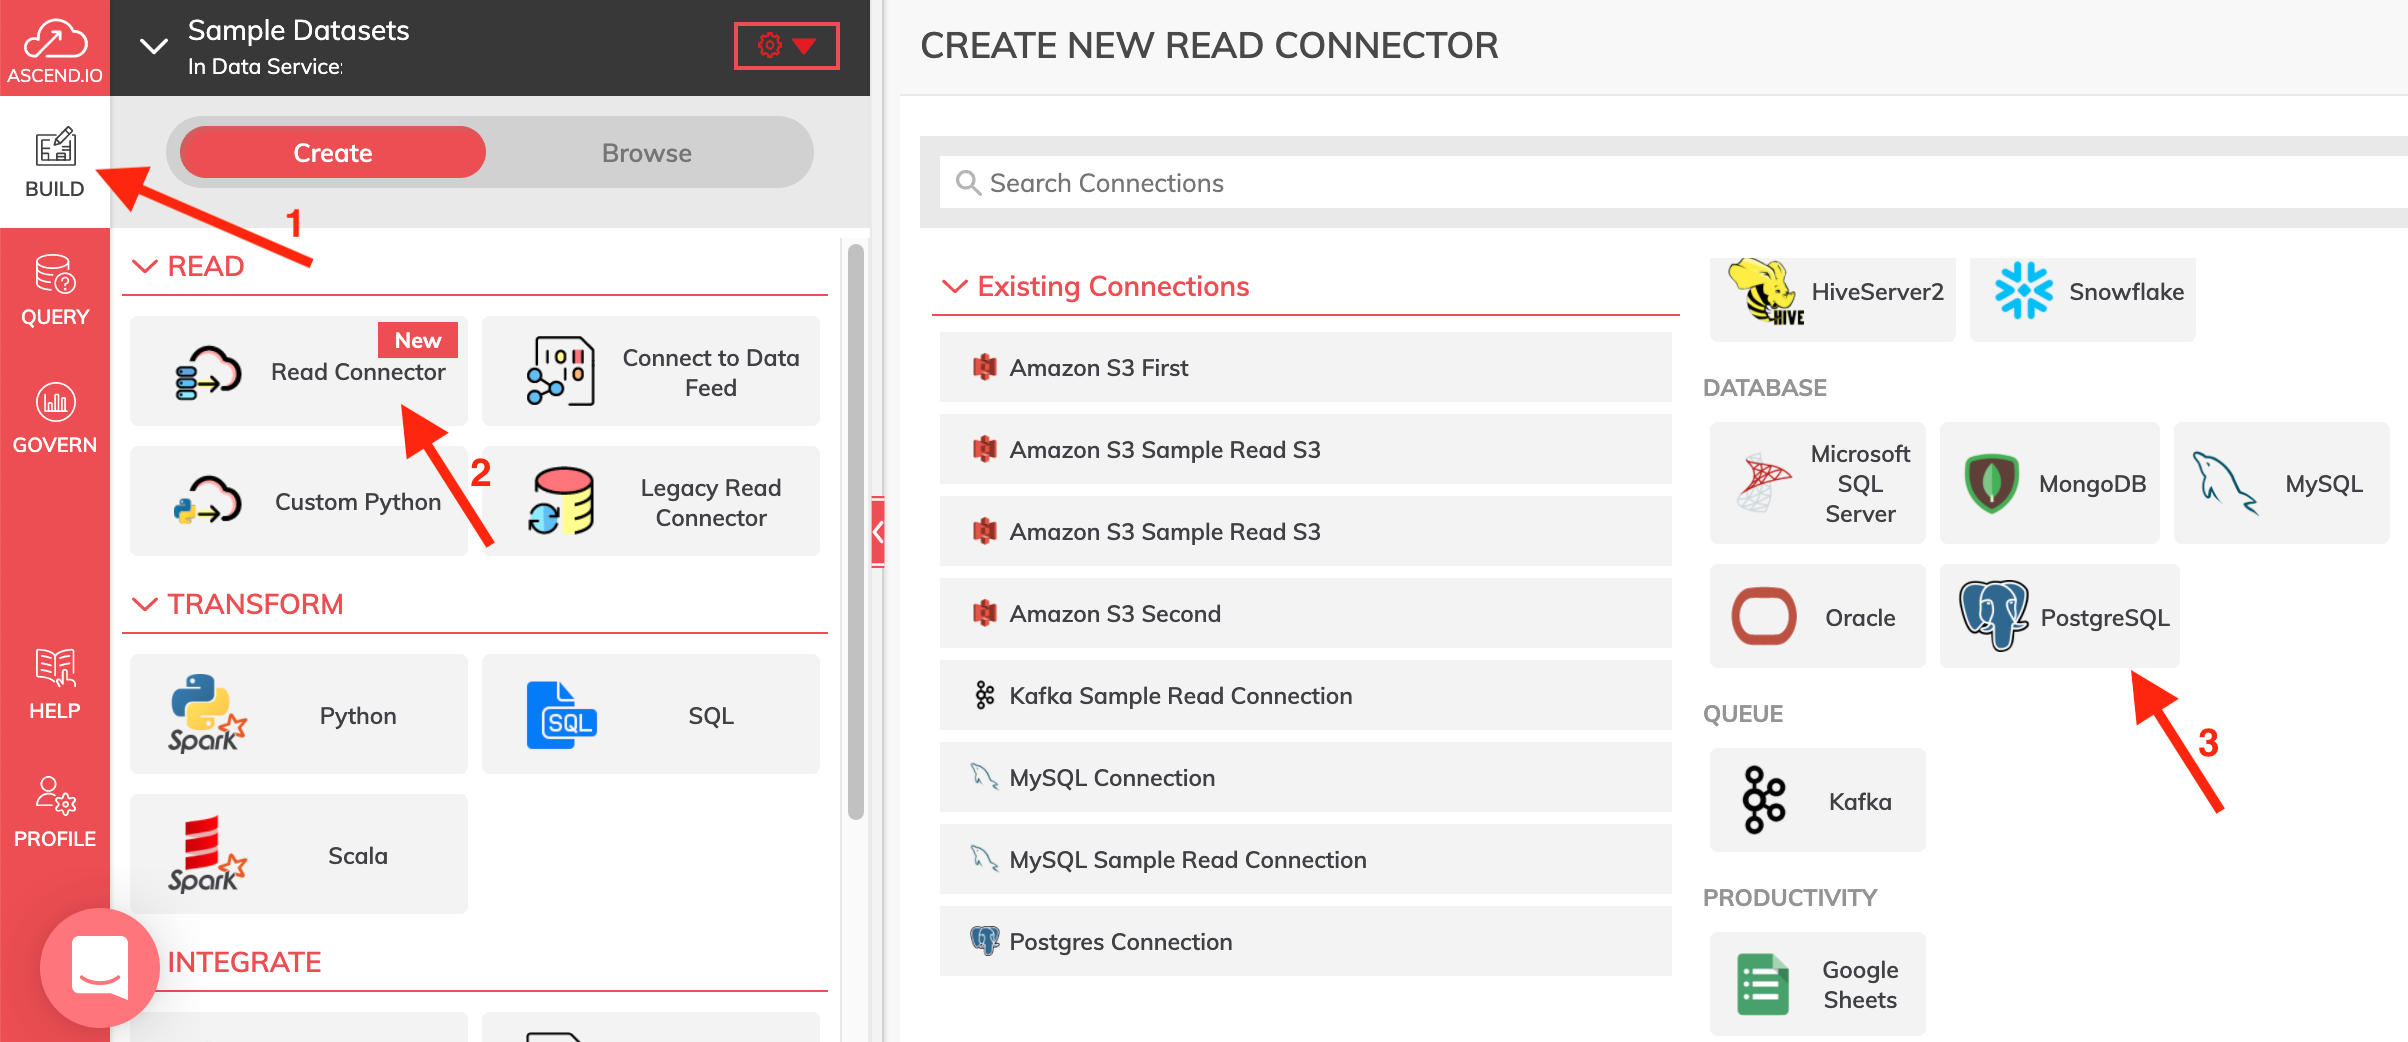
Figure 1
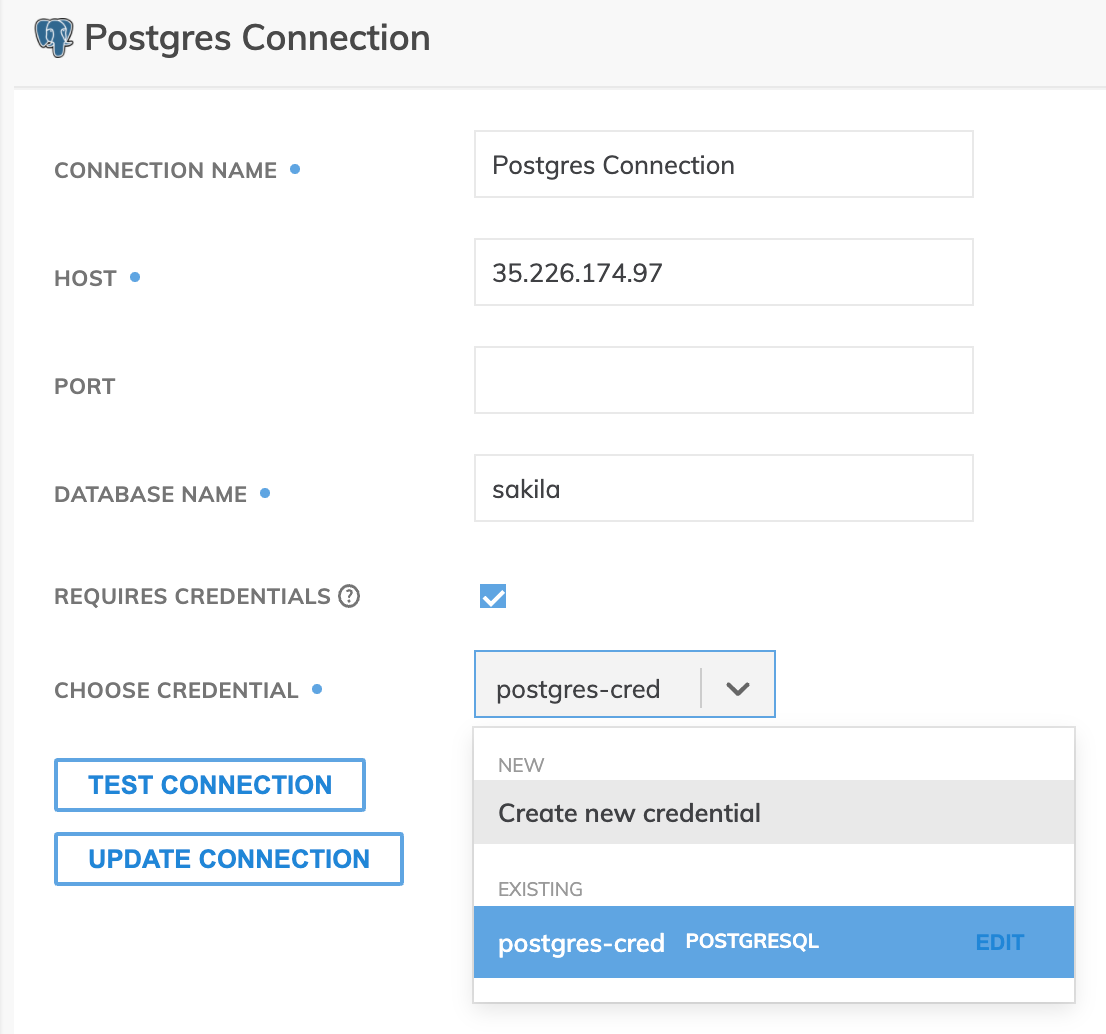
Figure 2
- Connection Name (required): The name to identify this connection with, such as
Postgres Connection. - Host (required): Hostname or IP address of the PostgreSQL server.
- Port (optional): Port number of the PostgreSQL server for the clients to connect.
- Database Name (required): The database name.
- Choose Credentials (required): Choose from existing credentials or create new credential for connecting to PostgreSQL server if 'Required Credentials' checkbox is selected. You can also choose to edit a credential with the EDIT button next to the existing credential.
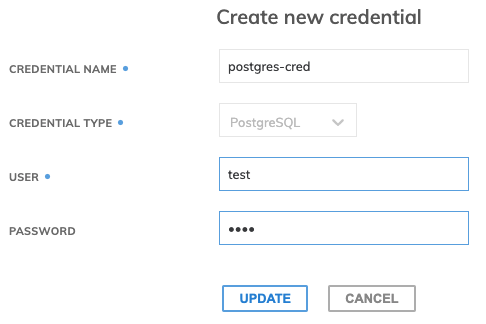
Figure 3
- Credential Name (required): The name to identify this credential with, such as
postgres-cred. - User (required): Postgres username to connect with.
- Password (required): Postgres password to connect with.
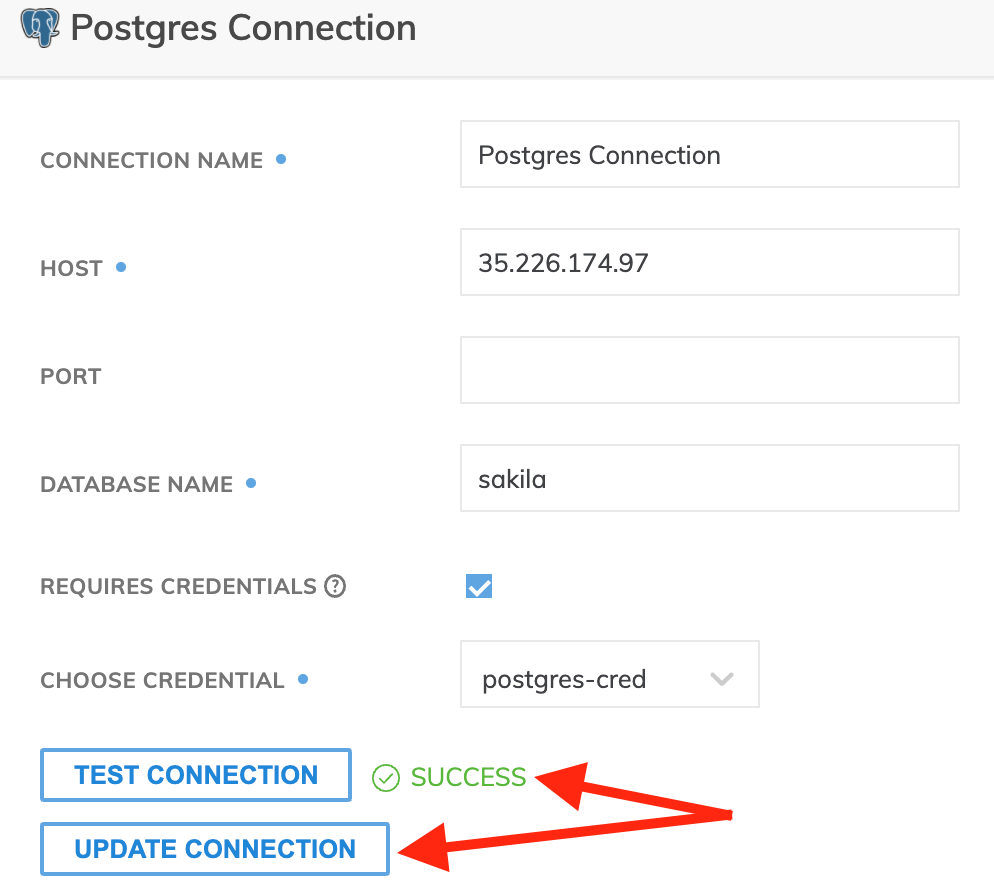
Figure 4
Use TEST CONNECTION button check if the connection is a SUCCESS and then click CREATE AND USE CONNECTION. (Figure 4)
Create New Read Connector
After you have an Ascend Read Connection set up, then you continue to set up the Read Connector in your dataflow.

The first thing on the top is a highlighted box with the POSTGRES connection, with an USE button which you can use to modify the connection and provide additional options for Replication strategy.

Figure 5
CONNECTOR INFO
- Name (required): The name to identify this connector with.
- Description (optional): Description of what data this connector will read.
Connector Configuration
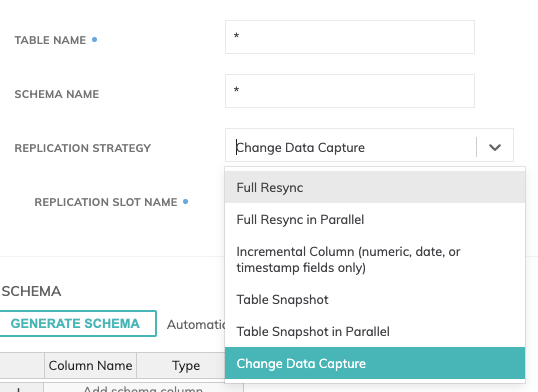
Figure 6
- BROWSE CONNECTION: Click this button (Figure 6) to explore resource and locate assets to ingest. This will give you access to the Postgres Schema in a modal dialog. Select the schema and then the table you want to ingest and press confirm.
- Table Name (required): The table to ingest data from.
- Schema Name (required): The schema the above table belongs to.
- Replication Strategy (required):
- Full Resync: This will resync the whole PostgreSQL database using a single connection.
- Full Resync in Parallel: This will resync the whole PostgreSQL database using multiple connections in parallel.
- Change Data Capture: Subscribe to your Postgres Server to capture only the changes in real time. The user must be a superuser or has a replication role to use CDC.
- Replication Slot Name: Replication slot ensures that the master server will retain the WAL logs that are needed by the replicas even when they are disconnected from the master.
In order to create it, an external plugin is required.
It is suggested to usewal2json. The installation instructions are available here:
https://github.com/eulerto/wal2json and many cloud provider's Postgres have this plugin preinstalled.
In order to quickly create a slot, run a SQL command in Postgres such as:
SELECT pg_create_logical_replication_slot('ascend_io_slot_1', 'wal2json');
For more information about replication strategies, please refer to our document about Database Read Strategies
Generate Schema
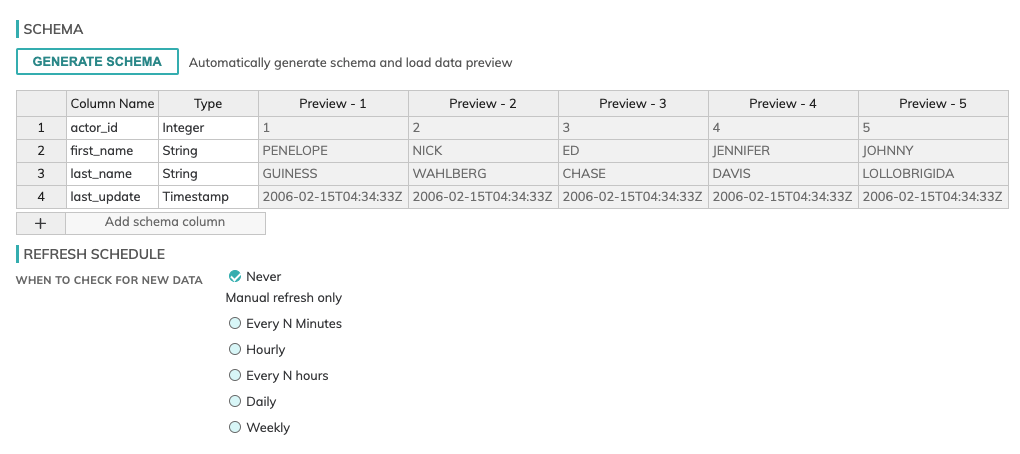
Figure 7
Once you click on the GENERATE SCHEMA button, which is an obligatory step, the data preview will be populated with the schema as in the image above. (Figure 7)
- Add schema column: Add a custom column to the generated schema
Refresh Schedule
The refresh schedule specifies how often Ascend checks the data location to see if there's new data. Ascend will automatically kick off the corresponding big data jobs once new or updated data is discovered.
Component Pausing
Update the status of the read connector by marking it either Running to mark it active or Paused to pause the connector from running.
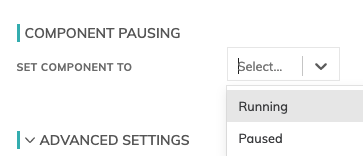
Figure 8
Processing Priority (optional)
When resources are constrained, Processing Priority will be used to determine which components to schedule first.
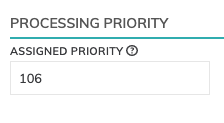
Figure 9
Higher priority numbers are scheduled before lower ones. Increasing the priority on a component also causes all its upstream components to be prioritized higher. Negative priorities can be used to postpone work until excess capacity becomes available.
Updated 6 months ago