Quickstart - Introduction to Ascend
What will you learn in this tutorial?
When you finish this tutorial, you will be able to create a new dataflow under the selected Data Service.
Tutorial Prerequisites
- Permission to create a dataflow. Please contact the User Manager of the Data Service where you intend to create it if you don't already have permission.
Basic Overview
There are 6 steps involved:
- Step 1: Locate a Data Service
- Step 2: Create a new Dataflow
- Step 3: Adding a Read Connector
- Step 4: Creating a Transform
- Step 5: Create a Write Connector
- Step 6: Create a Data Feed
This tutorial will walk you through these steps in a hands-on way that can be performed in any Ascend environment.
Step 1 - Locate a Data Service for your Dataflow
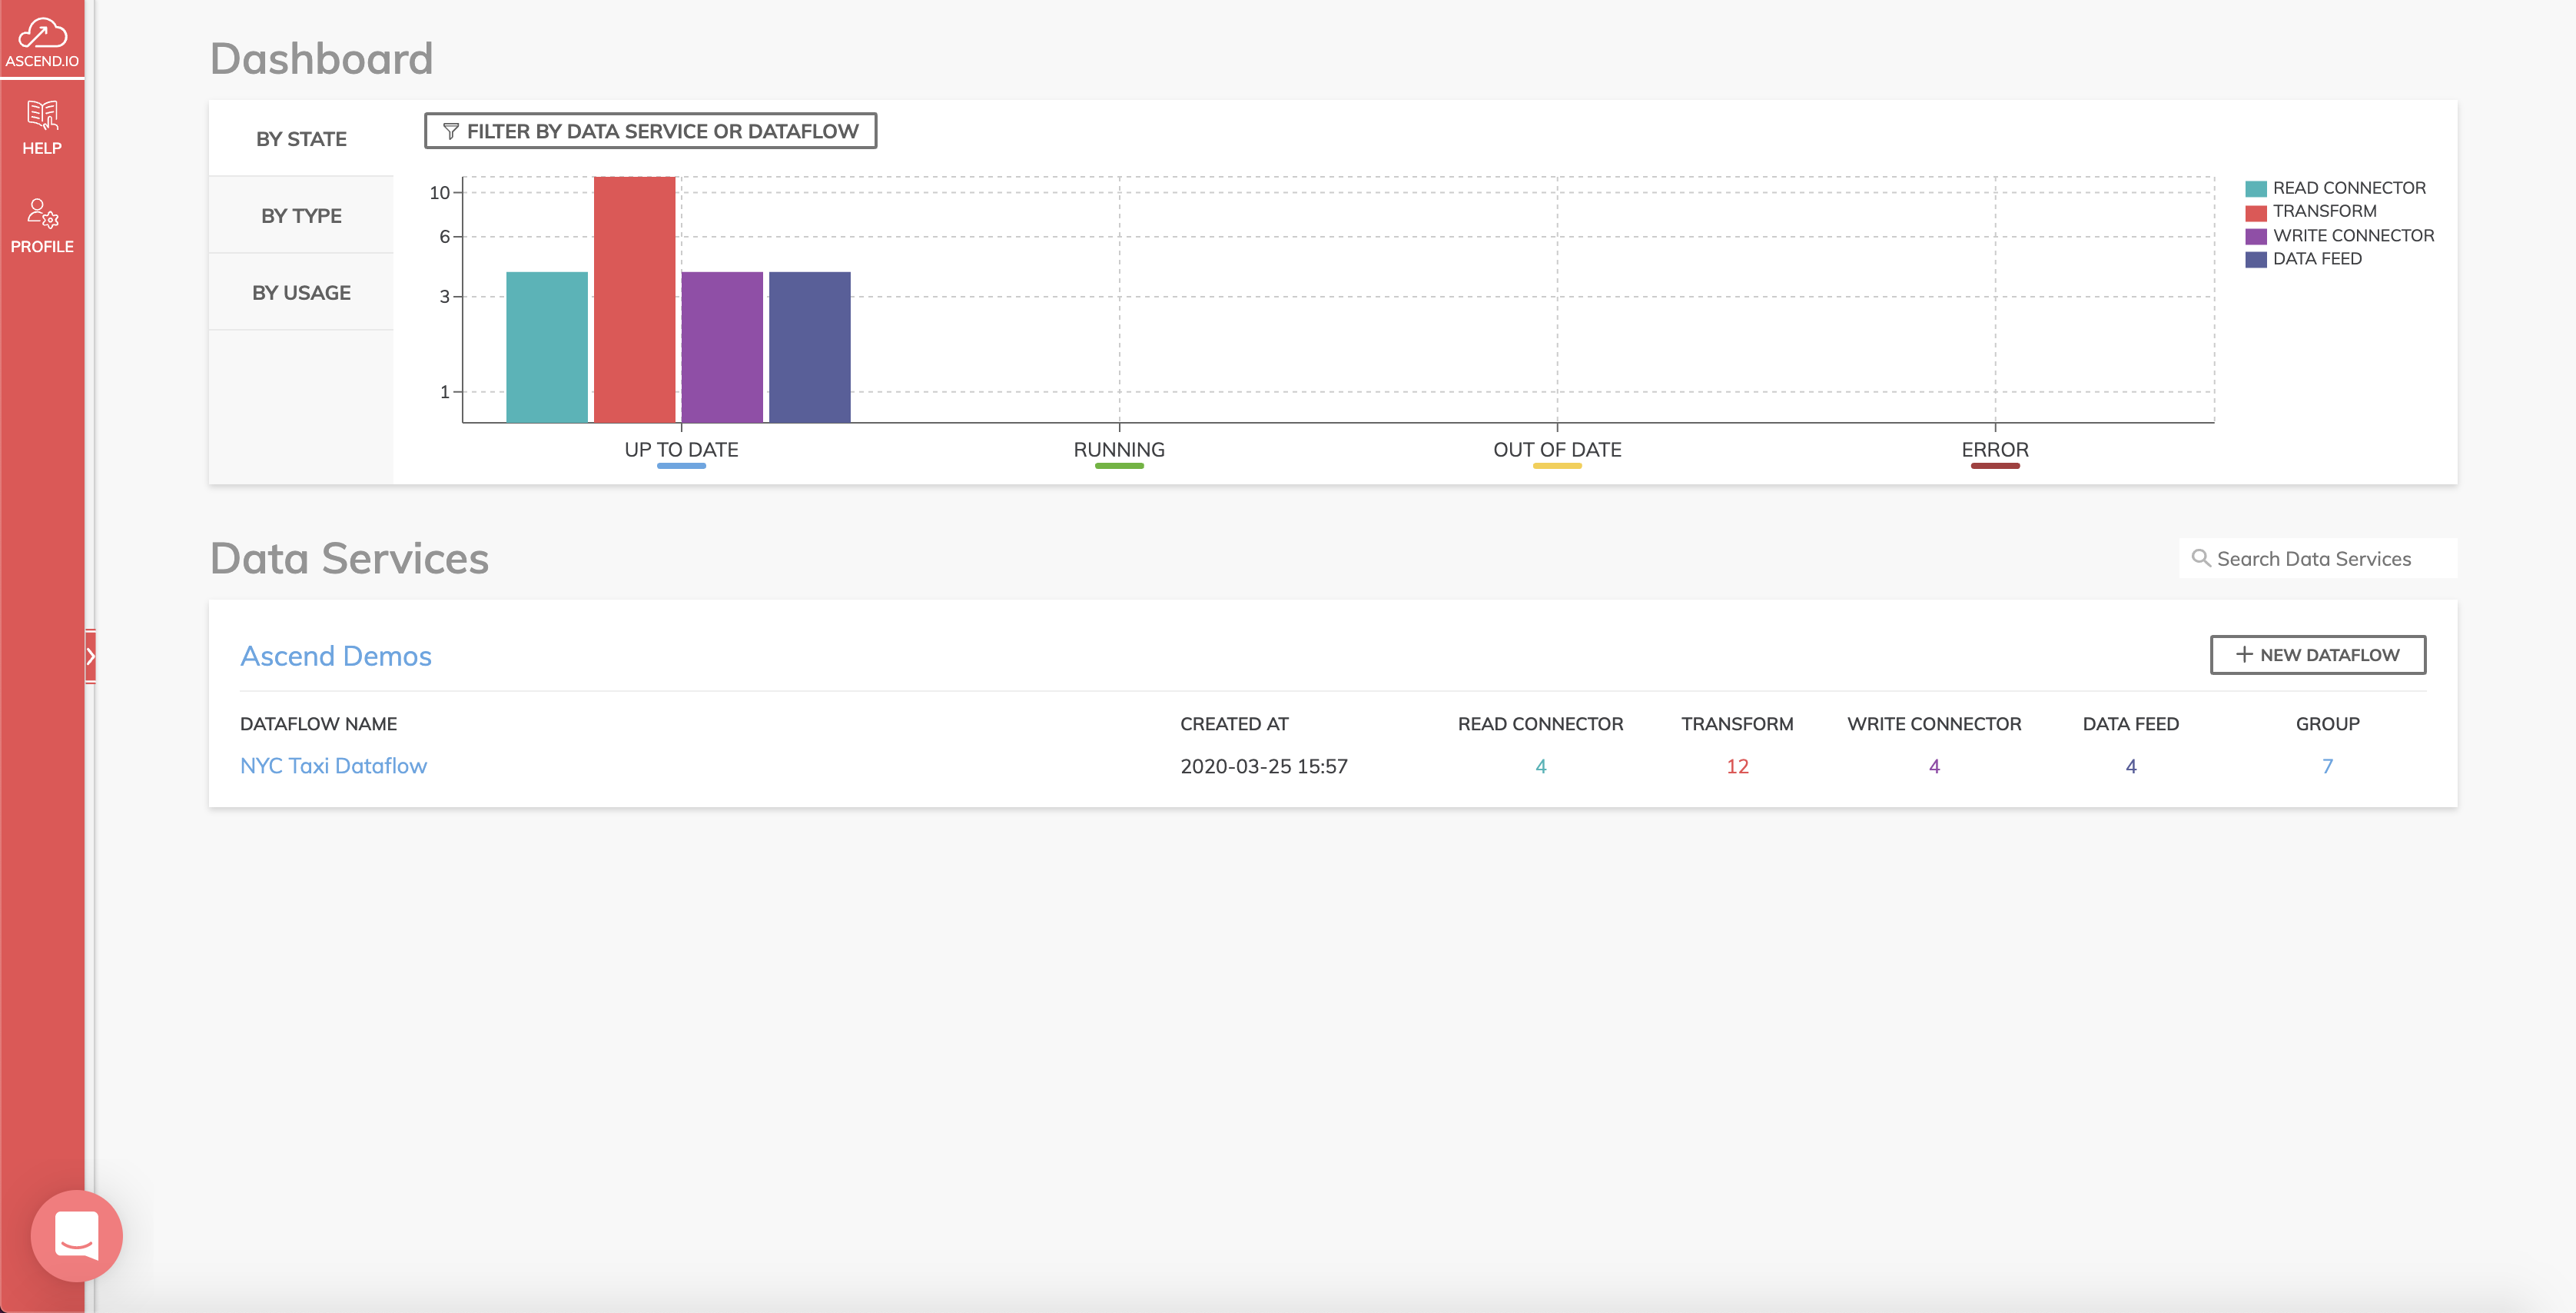
All Data Services in Ascend can be found on The System Dashboard, which you can always get back to by clicking on the ASCEND.IO logo in the upper right of any screen. If you have many data services, you may have to scroll down or use the Search Data Services box.

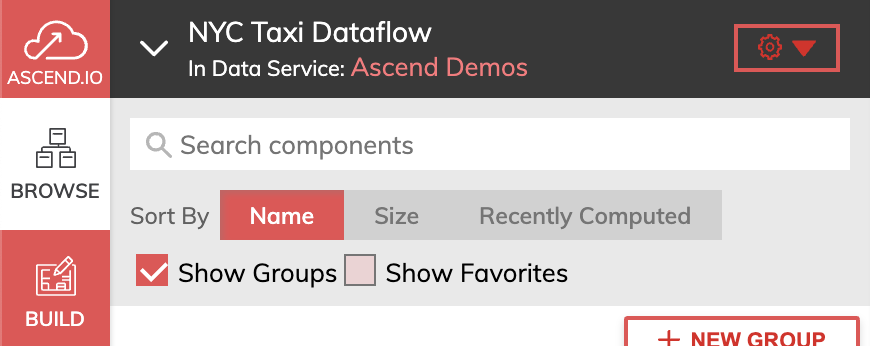
If you are already in the dataflow workspace, you can see the the name of the data service under the name of the dataflow next to the ASCEND.IO logo. You can also see other dataflows and data services by clicking on the caret to expand the dropdown.

If you don't want to create your new dataflow in the same data service as your current dataflow, click on the ASCEND.IO icon and find the data service in the dashboard.
Step 2 - Create a new dataflow
If you are on the system dashboard, click the + NEW DATAFLOW button at the top right of the panel for data service where you want the new dataflow to be.

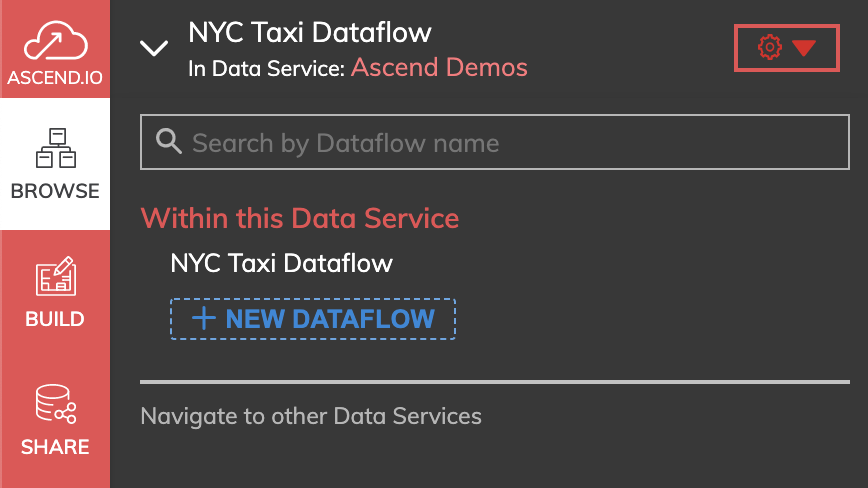
Alternatively, from the dataflow workspace, you can open the dataflow dropdown and click + NEW DATAFLOW there.

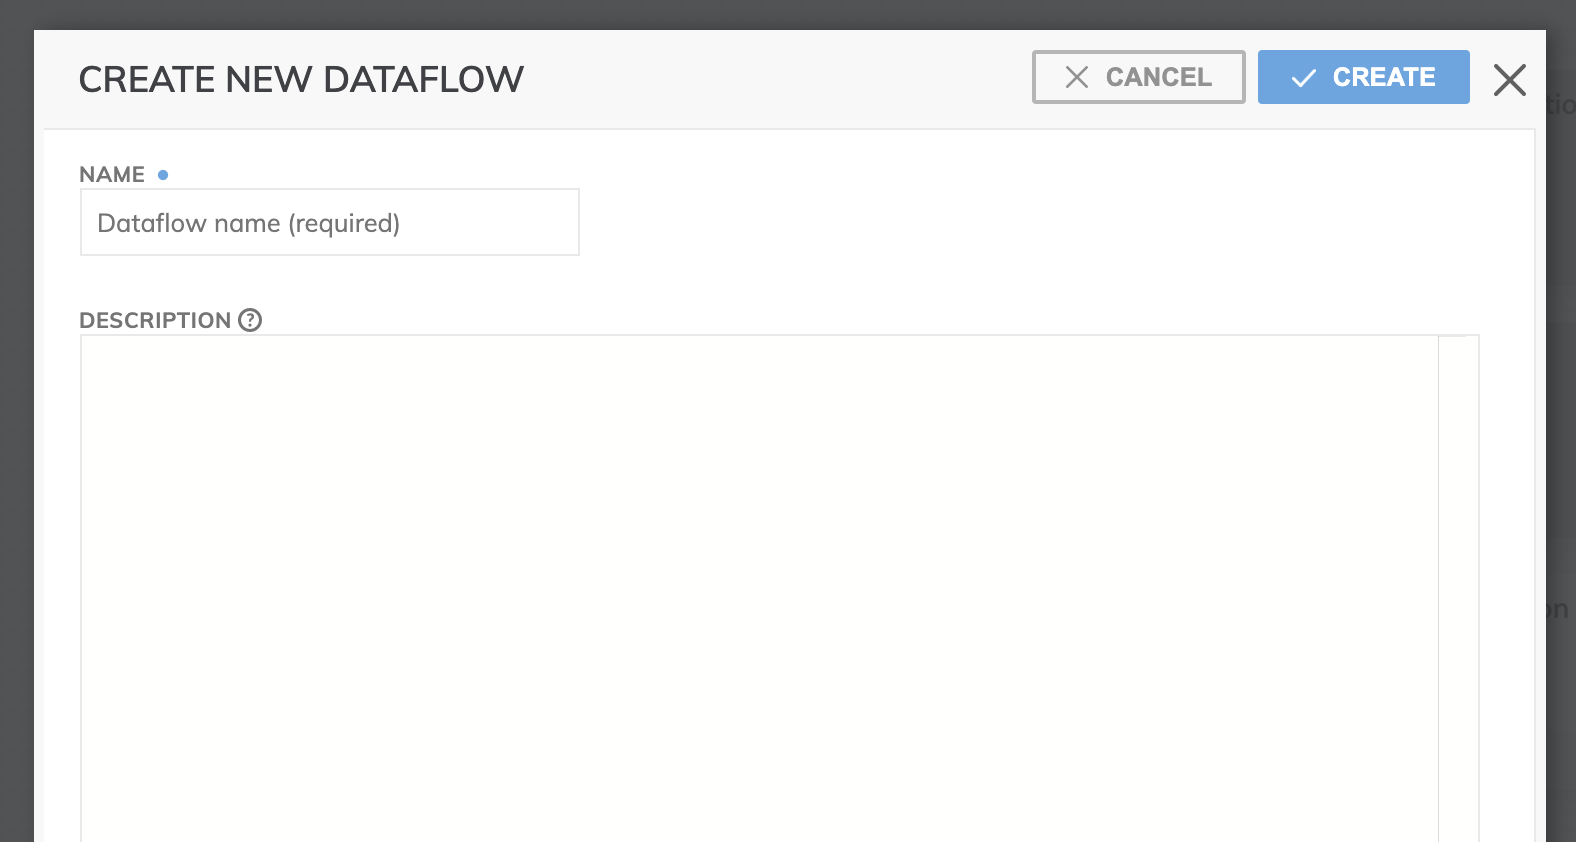
In either case, Ascend will bring up a panel where you give a name to this new dataflow (required). You can also enter more details to describe your dataflow (optional).

Click the Create button and a new dataflow is generated in Ascend!
Updated 6 months ago